Paper Craft: Tutorials
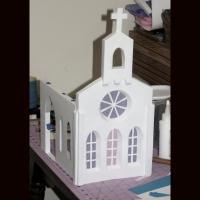
On the main section of the Paper Craft site, you'll find project instructions and templates for objects like dodecahedron ornaments and crosses. Here in the Tutorials section you will find some of the key ideas that lie behind the creation of those templates; this information will be most valuable for people who are interested in building their own creations, but need some help getting started.
Basic Tips: Here is a list of helpful hints that may be of value to you as you get started with your paper craft projects. Advice here includes suggestions on how to cut, how to glue, and how to design your own three dimensional models.
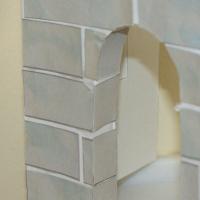
Textures: Tutorials on how to create different types of textured surfaces for your paper craft. Included here you will find instructions for creating a brick/stone wall, as well as wooden siding. With these basic ideas, other textures, such as shingles, can be easily created.

Keyhole Corners: This tutorial will guide you through the process of making a temporary corner joint using only paper. This is a solid corner, but a bit more time consuming to build. If you are looking for something quicker and easier to build, and don't mind a corner with a bit more "wiggle room", you can try the corners build with metal braces described in the tutorial below.
Metal Corners: This version of the temporary corner is quicker to build than the keyhole corner. It involves metal corner braces, cardstock, and glue. You can produce a large quantity of these quickly. The downside is that they aren't quick as stable as the keyhole corners. Use this if you're not working on a finish model, and want to be able to slap it together quickly.
Spacers: Spacers are an unseen but important part of your modeling project; they will help you hold a joint at the angle you want, or they will help join two parallel surfaces. No one sees them, but they give strength and structure to your model. Here we have instructions for creating 30, 45, 60, and 90 degree spacers, plus parallel surface spacers. There is also a guide for creating your own custom angle spacer.
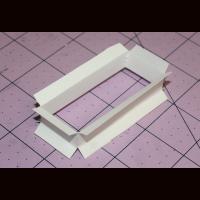
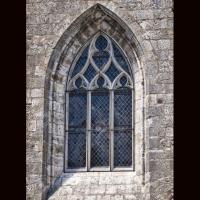
Rectangular Window Frame: This is the most basic type of wall opening you will deal with. It is simple to build, and looks nice when finished. This tutorial should be mastered before attempting more complex designs with curves or bevels.
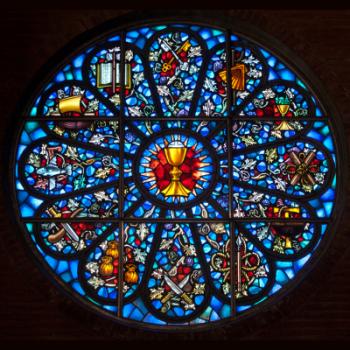
Round Beveled Window: Building a circular window which has a wider opening on the outside of the wall than on the inside. Get ready for some geometry and algebra on this one (or, you know, you could skip all that and go straight to the example at the bottom of the tutorial)!
Complex Beveled Windows: If you're feeling brave, you can create beveled windows with a more complex shape, like a combination of straight and rounded edges. This is a time consuming process, but we've provided a calculator to help you work through the ugliness.

